|
|
Common Vision Blox 15.0
|
|
|
Common Vision Blox 15.0
|
After creating a calibrated point cloud, a gapless rectified point cloud often is required to enable 2D image processing. The process for achieving this is outlined in the following sections.
The following code snippet demonstrates how to rectify a point cloud (i.e., create a ZMap) by calculating its bounding box, specifying the rectification parameters, and generating the ZMap:
(1) Compute the bounding box of your point cloud. It defines the region to be rectified in step (3). If you want to rectify only a smaller region, reduce the bounding box accordingly. Conversely, if you want to include a larger background area, you can enlarge it.
(2) Define the rectification parameters. You need to specify the width and height of the resulting ZMap. In practice, it is often more convenient to define the physical area to rectify and the desired pixel size. Based on that, the width and height can be calculated, as shown in the next code snippet.
(3) Perform the rectification.
The following C++ code snippet demonstrates how to compute the width and height of the ZMap based on a fixed area to rectify and a given pixel size:
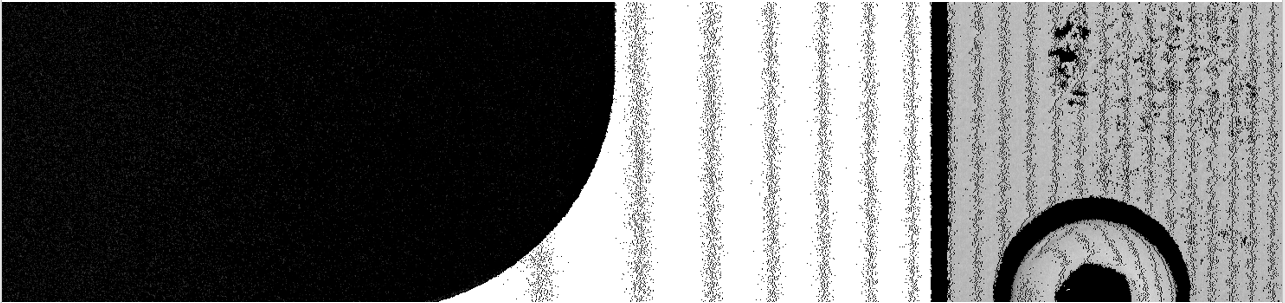
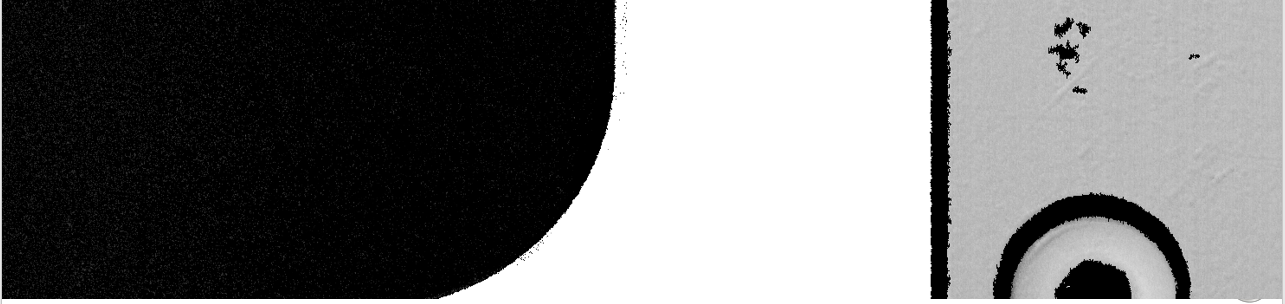
After rectifying a calibrated point cloud, the resulting ZMap may contain small gaps. These gaps can be filled using the Cvb::FillGaps function, which applies linear interpolation, as shown in the example below:
The resulting ZMap may then look like this:
CVB provides a range of utility functions for working with point clouds, including:
An overview of all available functions can be found in the following classes: