|
|
Common Vision Blox 14.0
|
|
|
Common Vision Blox 14.0
|
| Acquisition Hardware | |
|---|---|
| GigE Vision Devices |  |
| USB3 Vision Devices |  |
| CoaXPress Devices |  |
| CameraLink Devices |  |
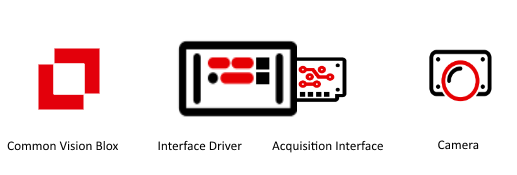
To be able to acquire images from acquisition devices CVB and the appropriate hardware drivers have to be installed on your system.
The hardware independent architecture of CVB requires a video interface file (vin) to be loaded when an image acquisition device is used (e.g. CVB GenICam driver (GenICam.vin) for GenICam compliant devices.) The *.vin format is proprietary to CVB and supports a wide variety of interfaces for acquisition, line scan acquisition, triggered acquisition and many more.
Following CVB downloads are available:
CVB Download
Installation and Setup

Manufacturer specific Hardware with CVB driver
The video interface (vin) file format is used for all Common Vision Blox drivers. There are vin-files available for a vast range of different image acquisition devices like frame grabbers, cameras or vision systems.
Please refer to the CVB Download area for driver download matching the CVB versions.
Get a Quick Start with:
| GenICam Browser | Search and configure GenICam compliant hardware |
| CVB Viewer | Access to hardware over different *.vin drivers. |
| License Manager | Manage the CVB Licenses. |
Find applications and tutorials:
Refer also Installation and Setup
The System Browser can be used for GenICam compliant devices to:
Start the System Browser from: %CVB%Tutorial\Image Manager\Cvb.Net\bin\Release\SystemBrowser.exe
License information:
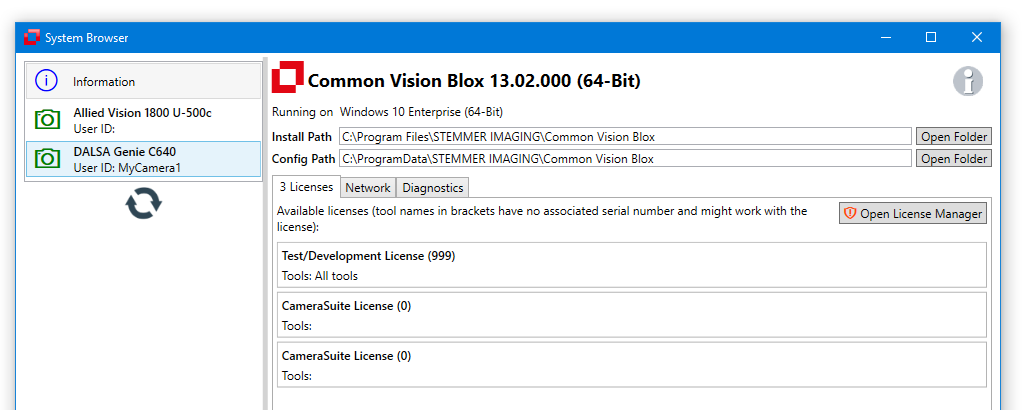
Network information:
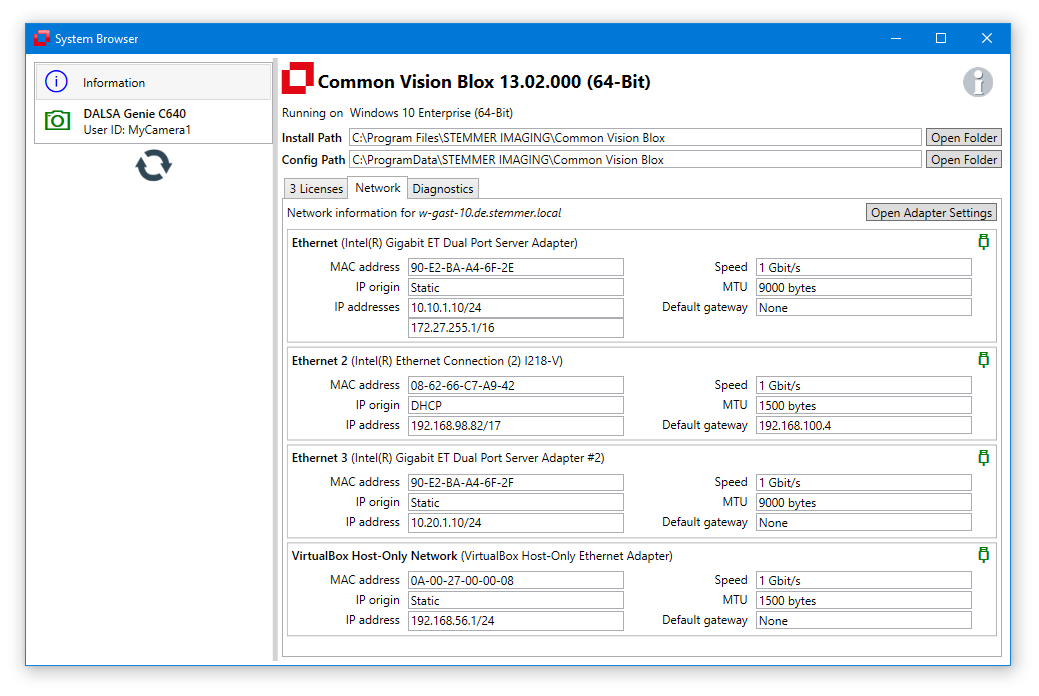
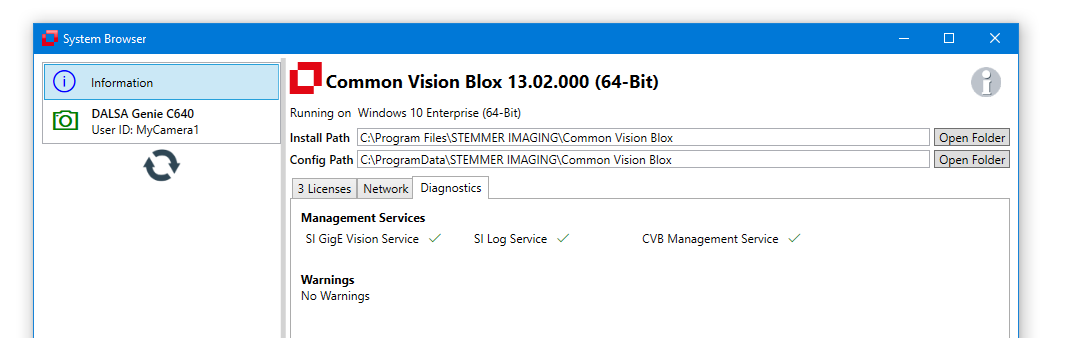
Diagnostic data:
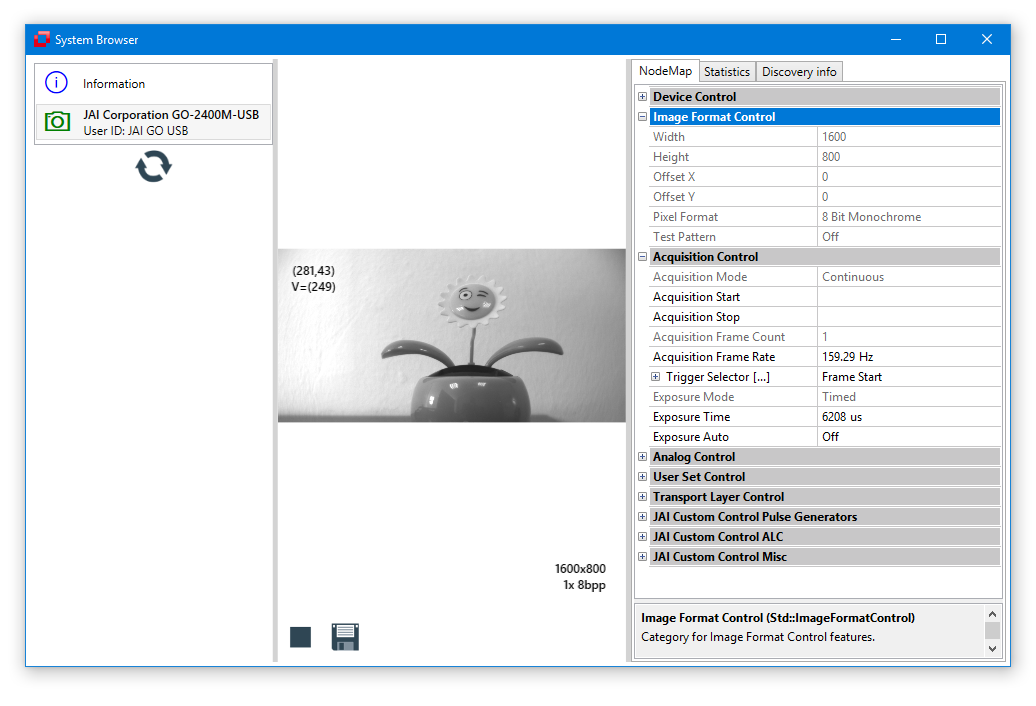
Live view:
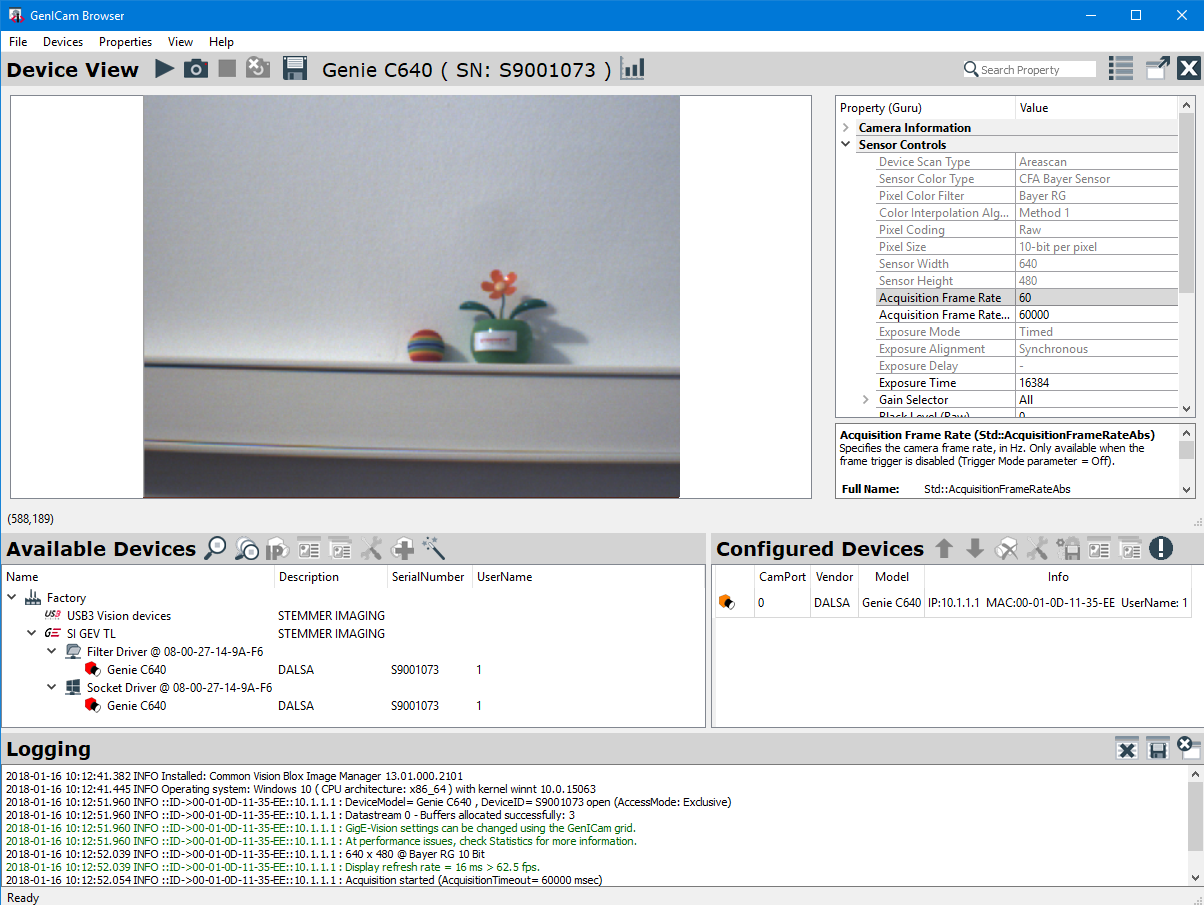
Get a live view by double clicking the camera and use the Node Map camera configuration options, Statistics and Discovery information.
![]()
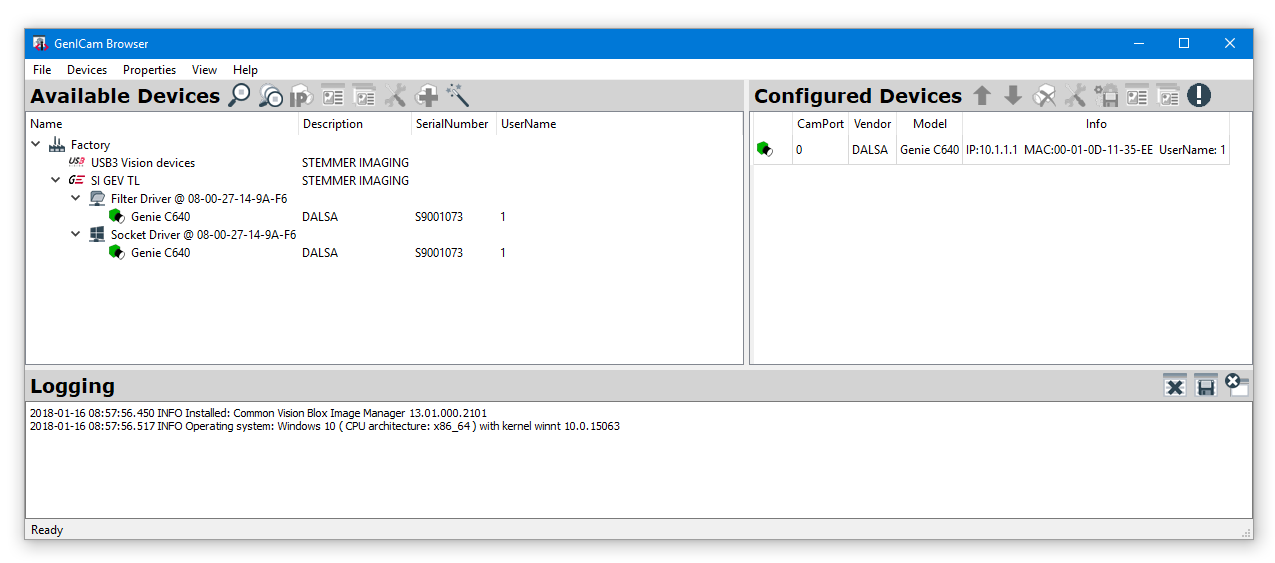
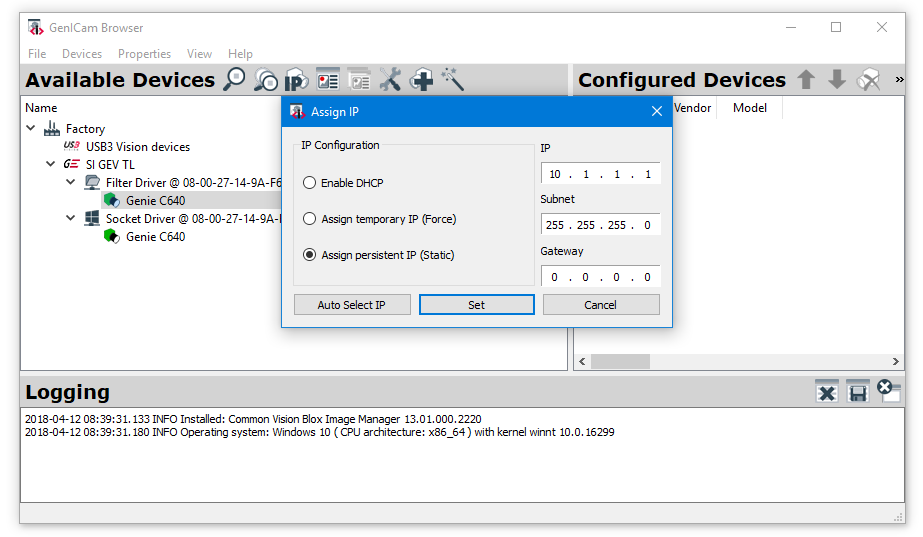
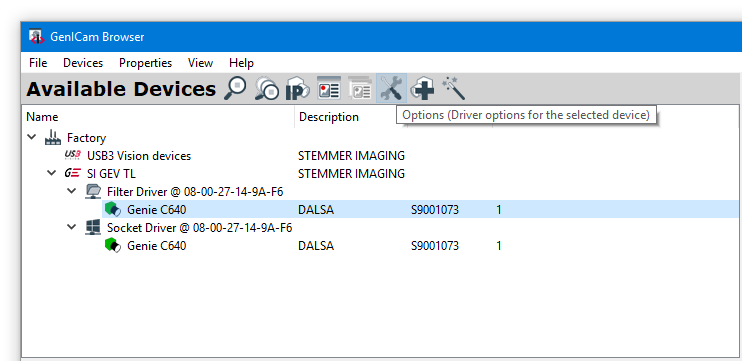
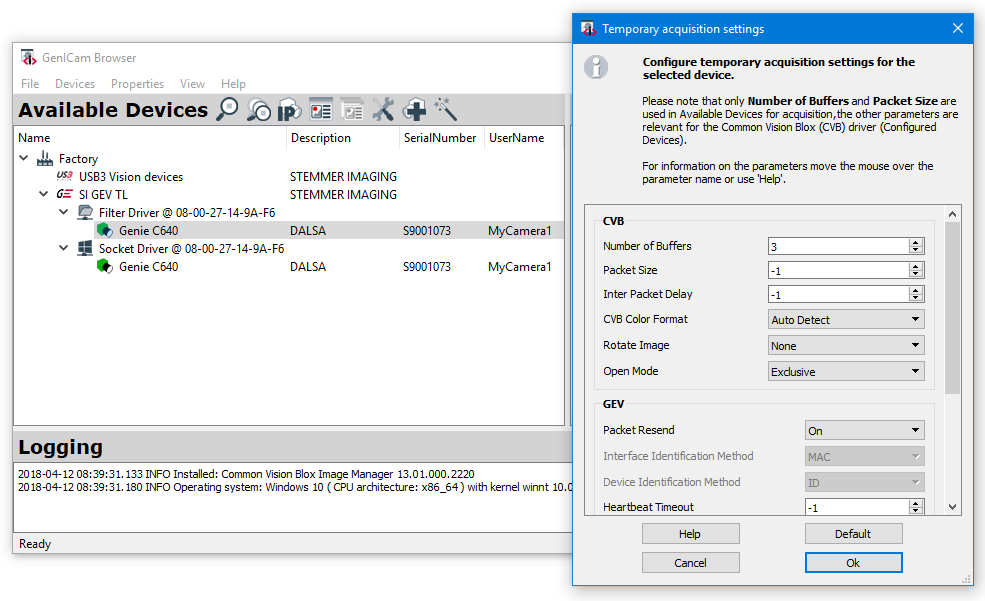
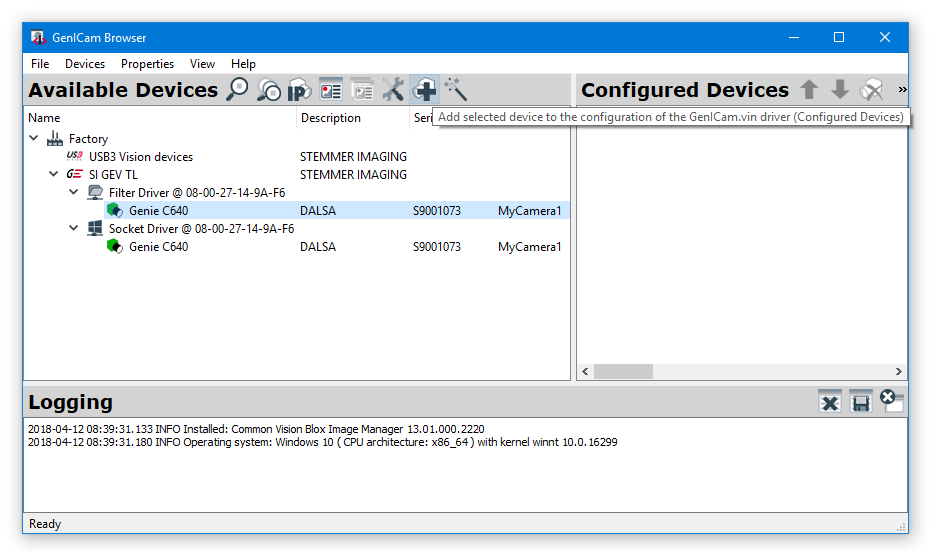
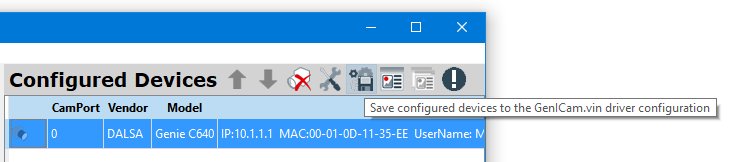
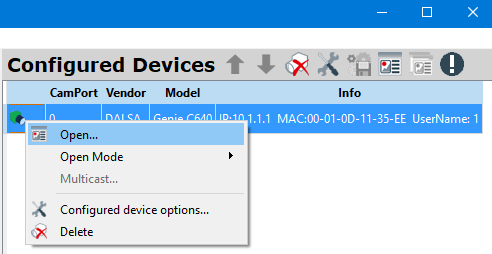
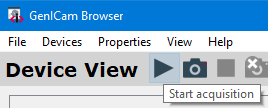
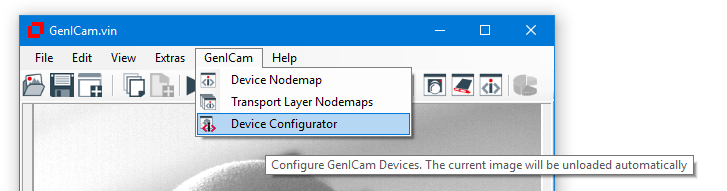
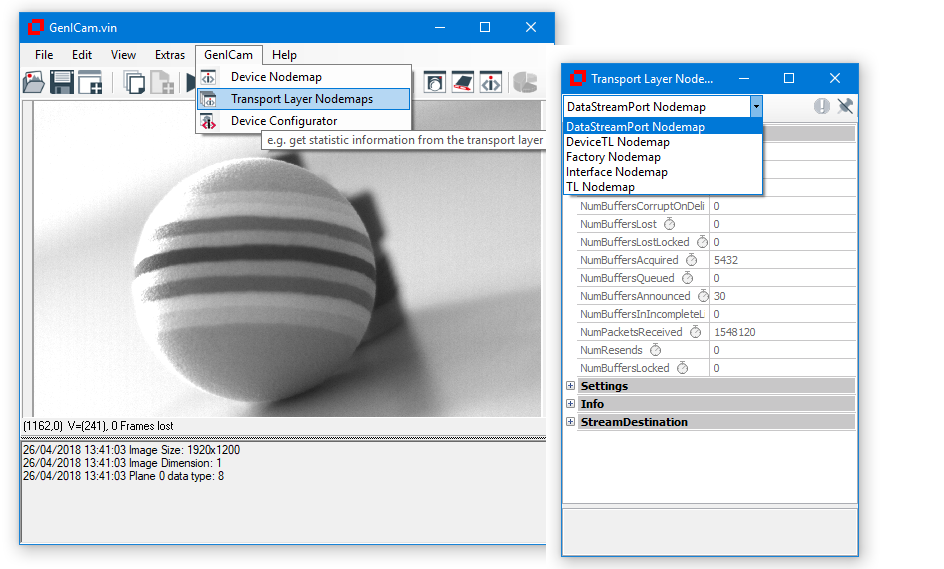
The GenICam Browser can be used to:
Start the GenICamBrowser.exe from Windows start menu or from %CVB%Applications.
For details refer GenICam Browser User Guide and CVB GenICam Driver User Guide.


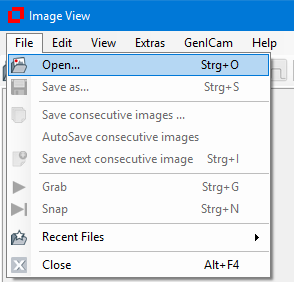
1) Define the destination directory:
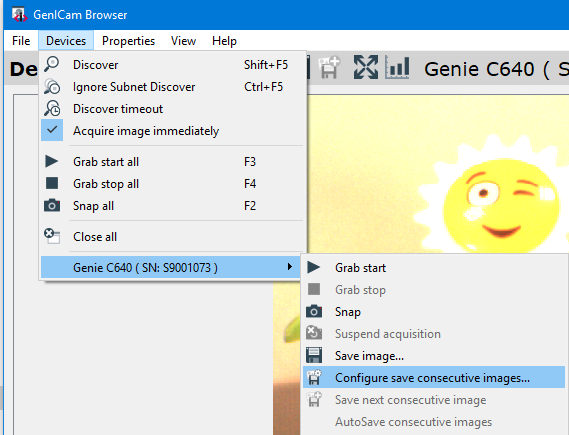
2) Select the type:
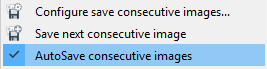
If activated new images are saved automatically to an *.emu file after starting the Grab. This should only be used with a continuous acquisition when the frame rate is very low. Otherwise the system is not able to save every image. Logging messages indicate lost images.
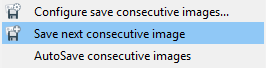
If activated new images are saved manually to a *.bmp file after starting the Grab.


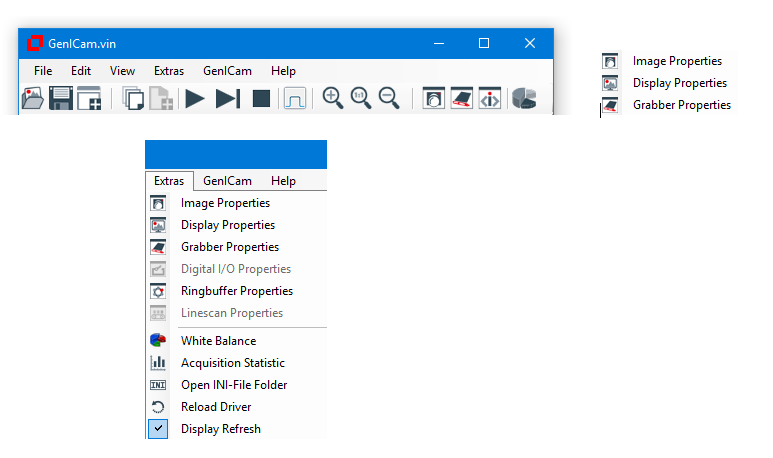
Use the CVB Viewer to get access to *.vin driver hardware.
The Video INterface (VIN) driver files are used in Common Vision Blox to access different frame grabbers, cameras and other real or virtual devices. These driver files are installed to the %CVB%Drivers directory.
The set of CVB hardware drivers that is available for a given release can be found on the Common Vision Blox setup in CVB download area.
Configure the VIN Driver settings first (using GenICam Browser for GenICam hardware or Driver Configuration as described in the CVB GenICam Driver User Guide).
Start CVB Viewer over Windows start menu or in %CVB%Applications : CVSysTay.exe
Load the matching *.vin Driver file from cvbDrivers directory:

Some cameras do not support white balance, other cameras can only use white balance with RGB output with a reduced frame rate. For such cases it is necessary to transfer the Bayer image and execute white balance in extra software programs. CVB provides the white balance functionality in the library with the Image Manager functions CalculateWhiteBalance and ApplyWhiteBalance.
1) Define the directory:
2) Select the type:
If activated new images are saved automatically to an *.emu file. This should only be used with a continuous acquisition when the frame rate is very low. Otherwise the system is not able to save every image.
If activated new images are saved manually to a *.bmp file. This should only be used with a continuous acquisition when the frame rate is very low. Otherwise the system is not able to save every image.


Configure/Request your licenses using the Options from License Manager.
Start the LicenseManager.exe from Windows start menu or from %CVB%Applications.
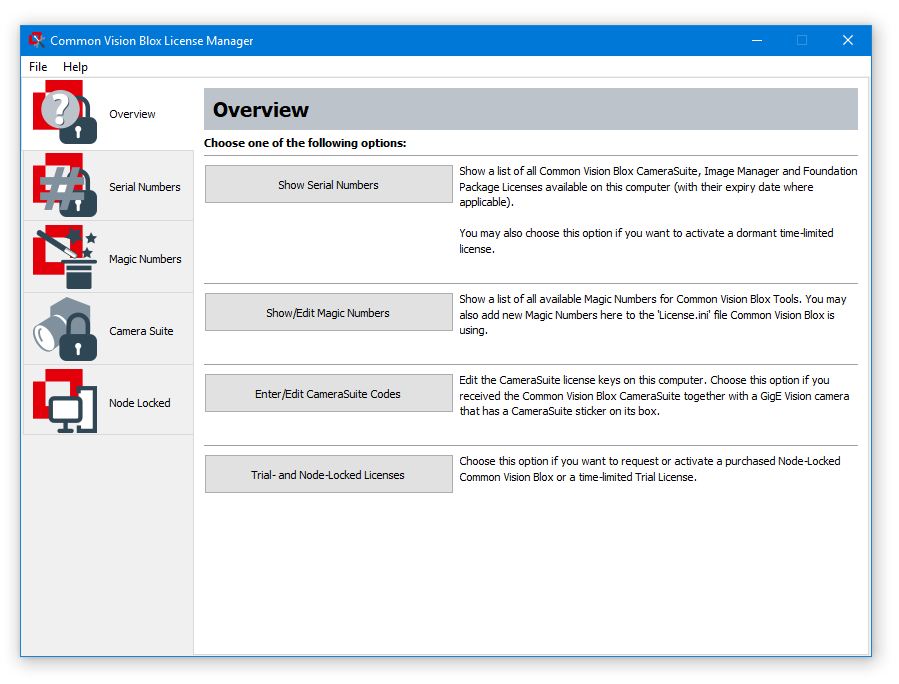
Order Trial License to get full functionality of CVB Tools and SDK for 30 days:

A detailed description of the different license methods can be found in section Licensing.
Following documentations and information sources are available:
Please check the CVB Web pages for updates to this driver in form of a CVB service pack or a hotfix. Therefore please visit CVB User Forum Download area and choose the CVB Version or Operating System.
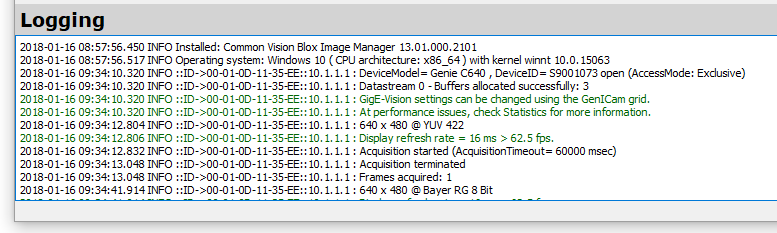
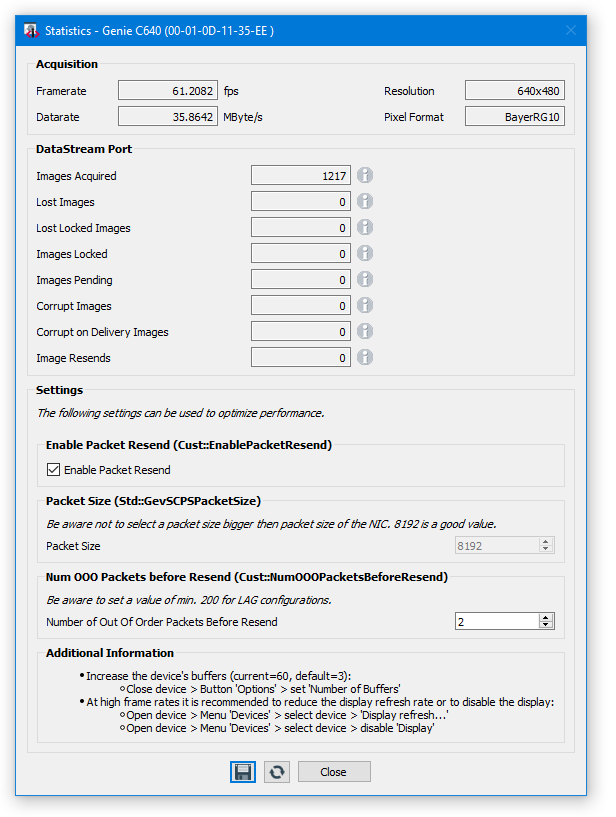
For any kind of problem you encounter with CVB GeniCam driver it is very helpful to record the error logging (Log window in GenICam Browser or LogGUI.exe in %CVB%Applications). Please have also a look at the description of Acquisition Statistic, Trouble Shooting and Error logging.
Before contacting the Technical Support please review the

