1.Start the Visual Studio development environment and choose New from the File menu.
On the Project types dialog select the Visual C++ programming language and create a new MFC Application.
Enter VCMFC_DialogApplication as the project name:

2.Confirm your input by clicking OK.
In the next dialog select the Dialog based option as the application type
(if you are interested in single document or multiple document applications:
many of the steps that follow are almost directly transferable from the dialog application to an SDI or MDI applications views).

Change the automatically generated Class name to e.g. CVCMFC_DialogApplicationDlg:
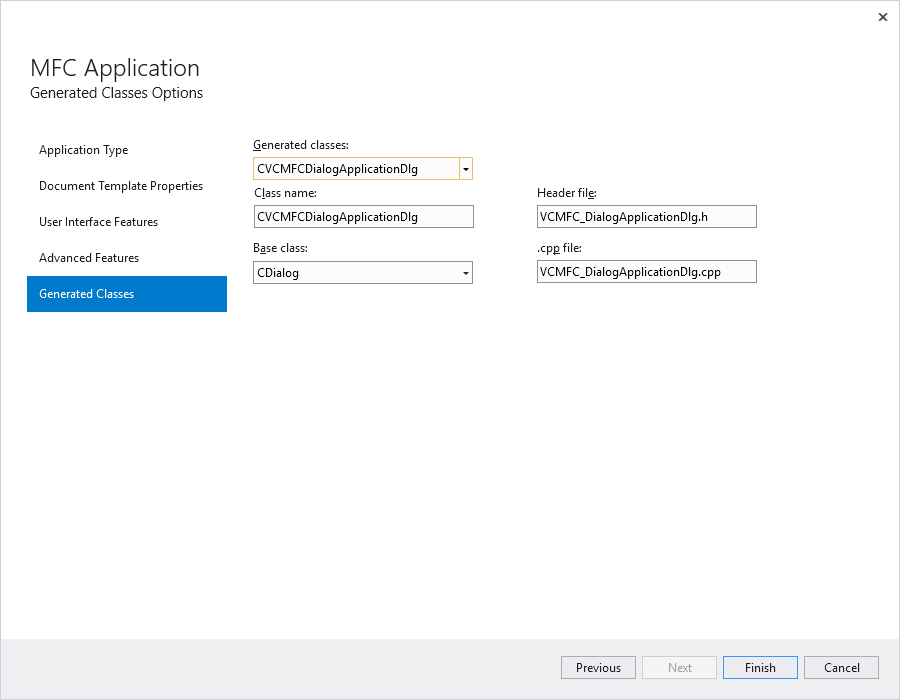
3. Confirm your inputs and the default settings in the next dialog box(es) by clicking Finish.
4. If this has not yet been done, it is now necessary to add the Common Vision Blox ActiveX components to the Visual Studio Toolbox.
This step is only necessary the first time you use these components.
From the Tools menu choose Choose Toolbox Items (also accessible through the tool box context menu).
This will open the Customize Toolbox dialog box with a list of all registered ActiveX Components will appear:
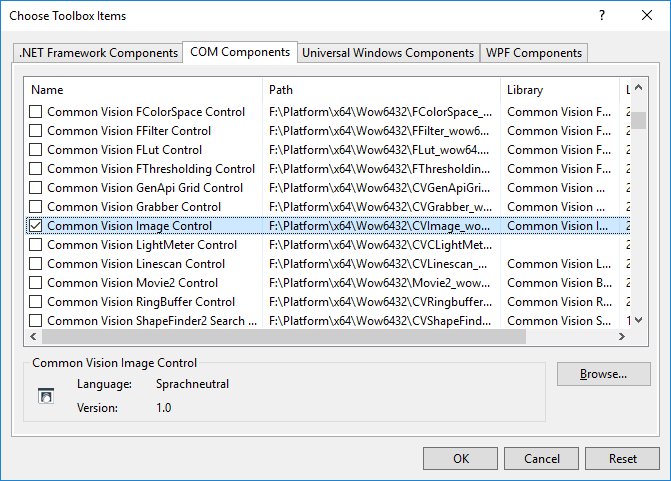
Check all the components you want to add to the Toolbox
(the Common Vision Blox components' naming pattern is Common Vision ... Control, for the rest of this section you will at least need Display and Image Control) and press OK.
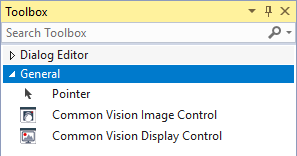
This will persistently add the selected components to the Toolbox - next time you create a new project with Visual Studio the Common Vision Blox controls will already be available in Visual Studio's Toolbox.
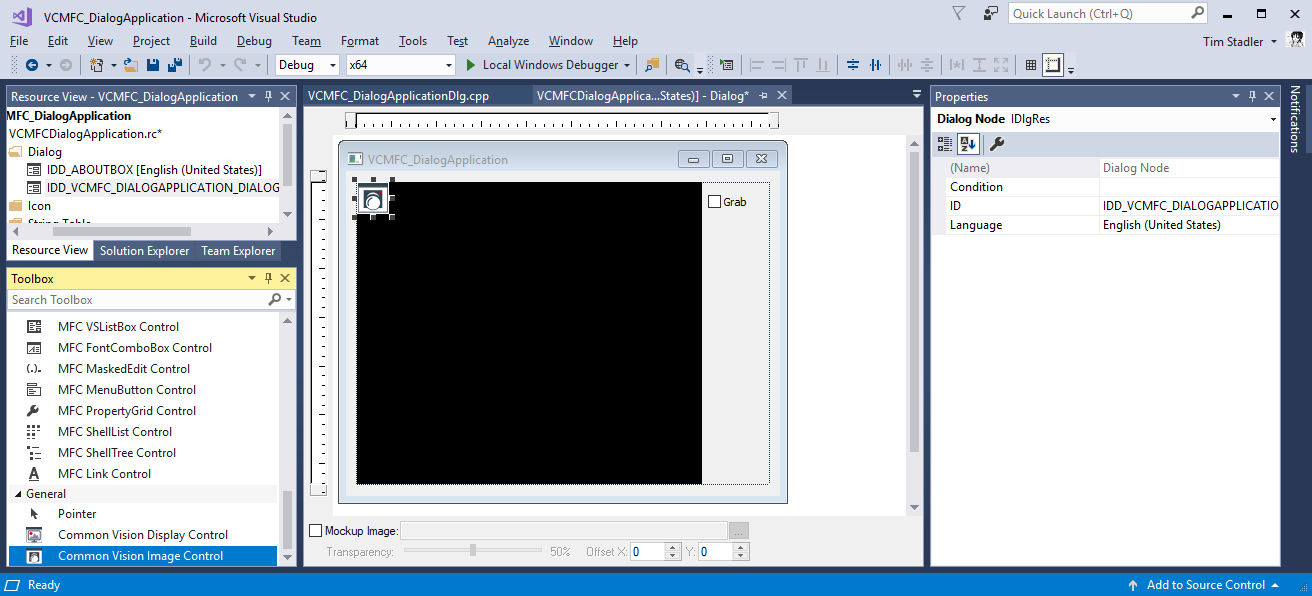
5. Now the Display and Image Control need to be inserted into the dialog.
Select Visual Studio's Resource View, and double-click on the dialog IDD_VCMFC_DIALOGAPPLICATION_DIALOG.
This will open the Visual C++ dialog editor:
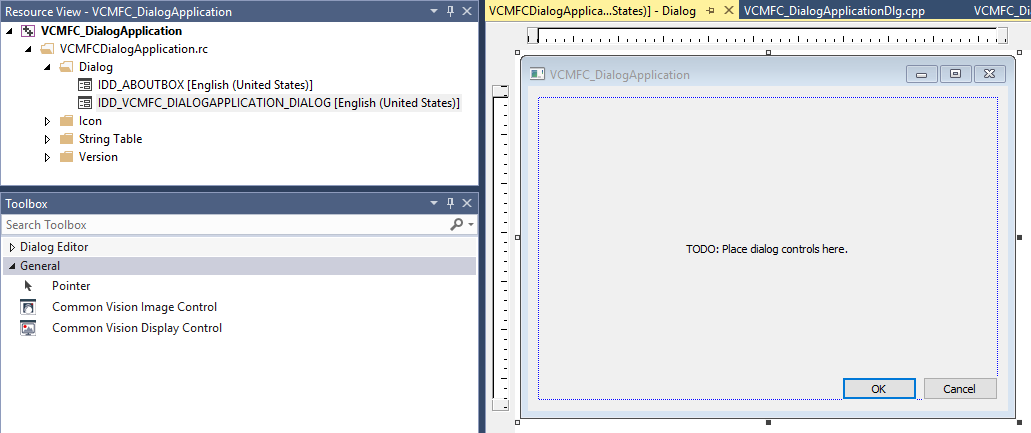
6. Delete the automatically generated buttons OK, Cancel and the TODO: ... Text label.
Then add one instance of the Image Control and one Instance of the Display Control to the dialog by selecting the respective control in the Toolbox and dropping it on the dialog.
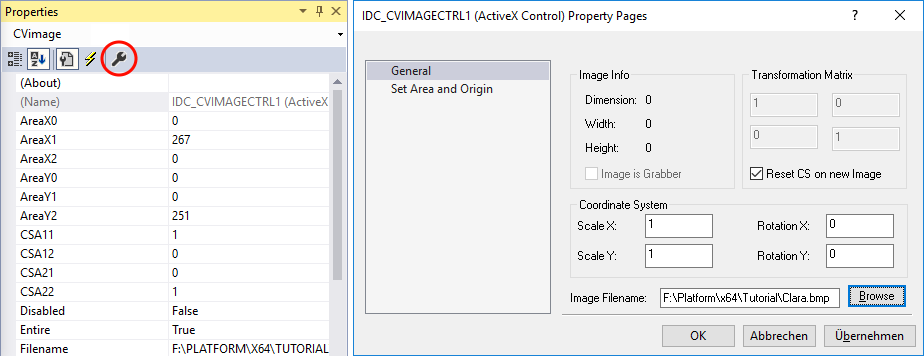
7. It is possible to specify an image to be loaded immediately when the ActiveX Control is being instantiated.
To do this, open the control's general property page and click the Browse button to select an image or driver file.
For the moment, use the file Clara.bmp from the %CVB%Tutorial directory.
8. To interact with the Image and Display Control your program now needs member variables for each of them.
To add a member variable for any control simply right click on it in the dialog editor and select Add Variable from the context menu.
This will open a dialog where type- and variable names can be edited as well as the names of the wrapper files that Visual Studio will automatically generate for ActiveX Controls:
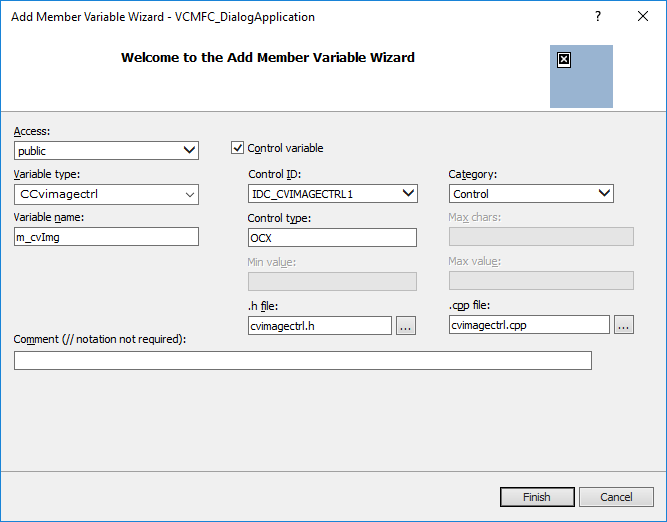
Enter m_cvImg as variable name, change the variable type from CCvimagectrl1 to CCvimagectrl and change the header and source file names to cvimagectrl.h and cvimagectrl.cpp (the latter two are not strictly necessary, but will make the transition to 64 bit easier).
Repeat these steps for the Display Control, using the names m_cvDisp, CCvdisplayctrl and cvdisplayctrl.h/.cpp.
x64 builds:
After closing the "Add Member Variable Wizard" please overwrite the wrapper files (cvimagectrl.h/.cpp, cvdisplayctrl.h/.cpp)
that have been generated with the files found in %CVB%\Wow6432\Visual C++ OCX Wrappers.
This is required because the automatically generated ActiveX wrappers for Visual C++ contain errors that make them unusable in a 64 bit build.
The wrappers found in the %CVB%\Wow6432\Visual C++ OCX Wrappers folder are suitable for 32 as well as 64 bit builds.
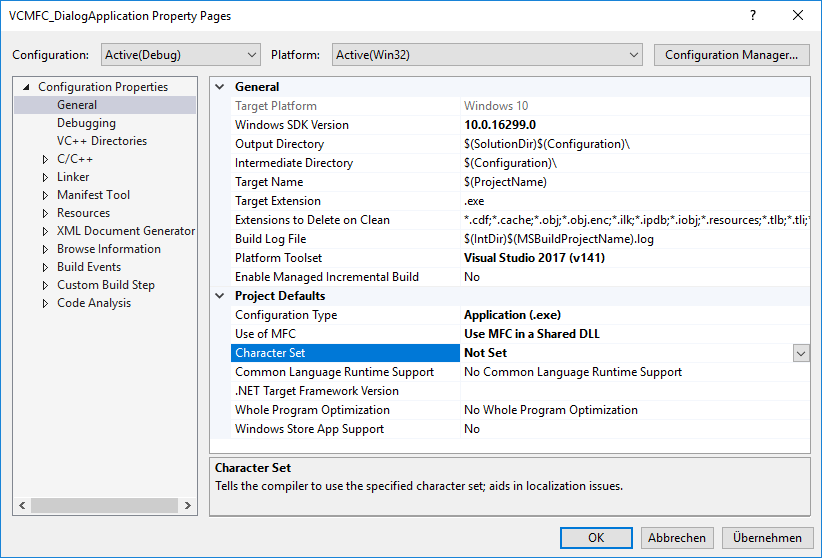
9. The Common Vision Blox API does not support unicode characters (all functions that accept or return a string only accept a pointer to a zero terminated ANSI character string).
Visual C++ however promotes the use of the types LPTSTR and LPCTSTR throughout the Windows SDK - and those types by default map to wchar_t* and const wchar_t*.
Therefore it's convenient to tell Visual Studio not to use unicode - in this case, LPTSTR and LPCTSTR map to char* and const char*:
This is not strictly necessary: It is possible to use Common Vision Blox in an application that uses unicode.
However, this adds the inconvenience of having to convert strings before/after calls to Common Vision Blox functions - something we did not want to clutter the tutorials with.
10. You now have a fully functional MFC dialog application that contains a Common Vision Blox Display and Image Control.
The Image Control even loads an image when the application starts - all that is required to make this image visible now is to establish a connection between the Display and the Image Control.
This is done by copying the handle value in the Image Control's Image handle to the Display Control's Image handle.
To do that, open the file VCMFC_DialogTestApplicationDlg.cpp and look for the OnInitDialog function.
At the end of that function simply add the line
m_cvDisp.SetImage(m_cvImg.GetImage());
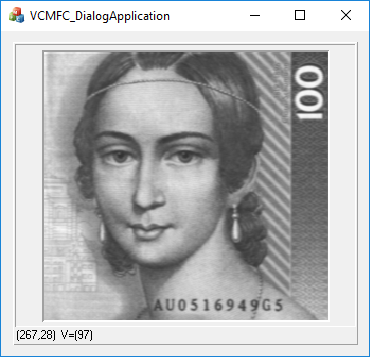
11. Compile and run the application.
It should come up with a Common Vision Blox display that shows the bitmap from the file Clara.bmp:
12. To take the application one step further, we now add the capability for displaying live images.
First of all, instead of loading Clara.bmp, the program now needs to load a video interface driver, for example the GenICam.vin
(make sure the driver is configured correctly with the Device Configurator; if you want to use a different vin driver simply substitute its name in the code below).
To do that, simply add another line before the one that has been added in step 10:
m_cvImg.LoadImage("%CVB%\\Drivers\\GenICam.vin");
m_cvDisp.SetImage(m_cvImg.GetImage());
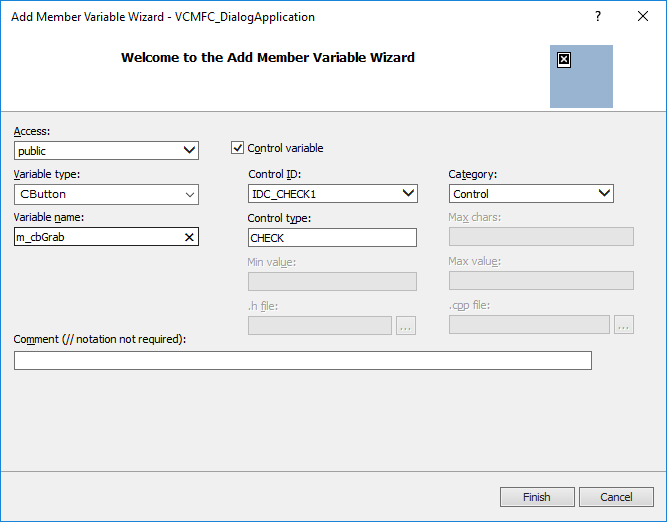
13. To be able to start and stop live acquisition, add a check box to the dialog and name it "Grab"...
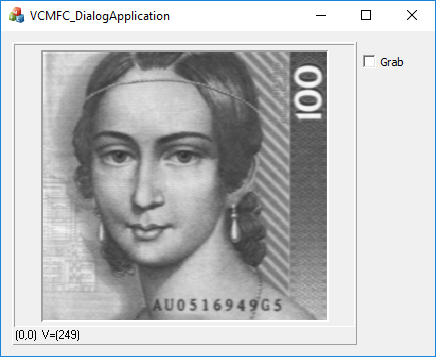
... then add a member variable named m_cbGrab of type Cbutton:
14. To react to state changes of the check box, we'll need to provide a handler routine for the checked change event.
To that end, double click the newly added check box.
This will open the routine OnBnClickedCheck1 in the source code editor.
Modify this routine to look as follows:
void CVCMFC_DialogApplicationDlg::OnBnClickedCheck1()
{
// TODO: Add your control notification handler code here
m_cvImg.SetGrab(m_cbGrab.GetCheck());
}
15. The last thing to implement now is an adequate reaction to the acquisition of a new frame.
The Image Control reports newly acquired images by means of the ImageSnaped event that will be raised every time the camera has delivered a new image.
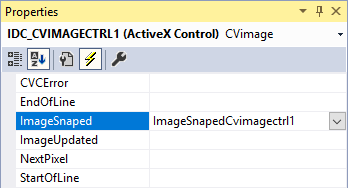
To react to the ImageSnaped event select the Image Control on your form, then change the Properties Window to show the control's events.
Simply double click the empty cell next to ImageSnaped to generate a new handler for the ImageSnaped event.
In the new event handler's source simply add a call to the Display Control's Refresh method:
void CVCMFC_DialogApplicationDlg::ImageSnapedCvimagectrl1()
{
// TODO: Add your message handler code here
m_cvDisp.Refresh();
}
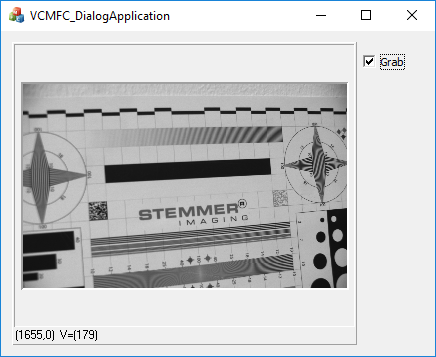
16. Now compile and run the application.
You can:
✓ start/stop live acquisition by checking/unchecking the Grab check box and the
✓ Display will show the live image from the camera.
✓ It is also directly possible to use the interactive zoom of the Display Control.
Refer further code examples in the CVB Tutorials (%CVB%Tutorial folder).